Setting up your recurve bow is essential for good performance and enjoyable shooting. This guide covers key elements like limb twist, tiller, bracing height, nocking point, centre shot, sight alignment, and the importance of a clicker.
Setting up your recurve bow can be daunting, but understanding the basics will help you find your ideal setup. Mastering recurve bow setup takes time and practice. Experiment with different settings to find your ideal configuration. Remember, a well-tuned bow enhances accuracy and consistency.
The very first thing to do when setting up a new bow after it’s assembled is to check there is no limb twist. There are a few different ways you can do this. The easiest is to simply draw the string back paying close attention to the top limb string track where it sits. You are looking for it to return central, and then check the bottom limb. If the limb tips are settled in the middle, then there is no twist. If your limb tips are to the right or left, you have limb twist.
If you have a Hoyt riser the twist can be eliminated by building up the shims on one. If you don’t have a Hoyt riser, sometimes the twist can be removed but please don’t try this yourself. Take it into a shop and let an expert look at this for you.
Adjusting the tiller advances or reduces your limb seating position. This is measured with a bracing height gauge from the butt of the limb to the string. There is a minimum and maximum amount the tiller can be adjusted. Please see your riser manual for more information. We normally start with the top limb advanced 1/8” due to most manufacturers positioning the grip in the middle of the riser. This results in your draw hand position being around 2” above the centre of the bow, pulling more on the top limb. However, if you are shooting three fingers under the string you can shoot with a natural tiller. This is all dependent on your grip pressure, finger pressure, bow reaction and more.
This is the measurement from your pressure button hole to your string when strung up; most bows have a different recommended bracing height depending on multiple different factors such as bow style, bow length, manufacturer and limb tip design. Most recurve bows will have a bracing height range adjustment of 2cm, so a Hoyt Grand Prix 68" bow has a bracing height range of 21.5 - 23.5cm and you can use that room to find the sweet spot in the bracing height range.
The way to do this is by setting your bracing height at either the maximum or minimum, then shoot three or four arrows and listen to the sound it makes. Then put four more twists into the string and repeat the process. You are looking for the bow to sound its quietest. There might be two to three sweet spots and normally these spots group better as well.
The goal is to set the nocking point horizontally so that the arrow leaves the bow at a perfect angle without any clearance issues. Normally, if you have clearance issues the tell-tale sign is marks appearing on the shelf below the arrow rest. This can also be caused by finger pressure.
The nocking point should really be tied on, rather than brass ones. These slow down the string. Removing the brass nocking point also gives cleaner string travel.
Vertatune plates are a specific tuning method for Hoyt recurve risers only. These plates allow you to change the height of your arrow rest. The advantage of this is that if you are pulling too much on your top finger you can select the bottom plate, allowing for more centralised pressure on the string and vice versa.
It is vital to make sure your centre shot is set up correctly, otherwise you can have poor arrow flight and contact issues. We are looking for the arrow to leave the theoretical centre of the bow. The most effective way to set the centre shot is by using a pressure button. To do this you need to loosen the grub screw on the collar, then tighten or loosen the collar itself so that the pressure button can move inwards or outwards. The string should line up along the right-hand side of the arrow if you are right-handed, or the left side if you are left-handed. If you are shooting very skinny arrows, the string can be centred down the middle of the arrow.
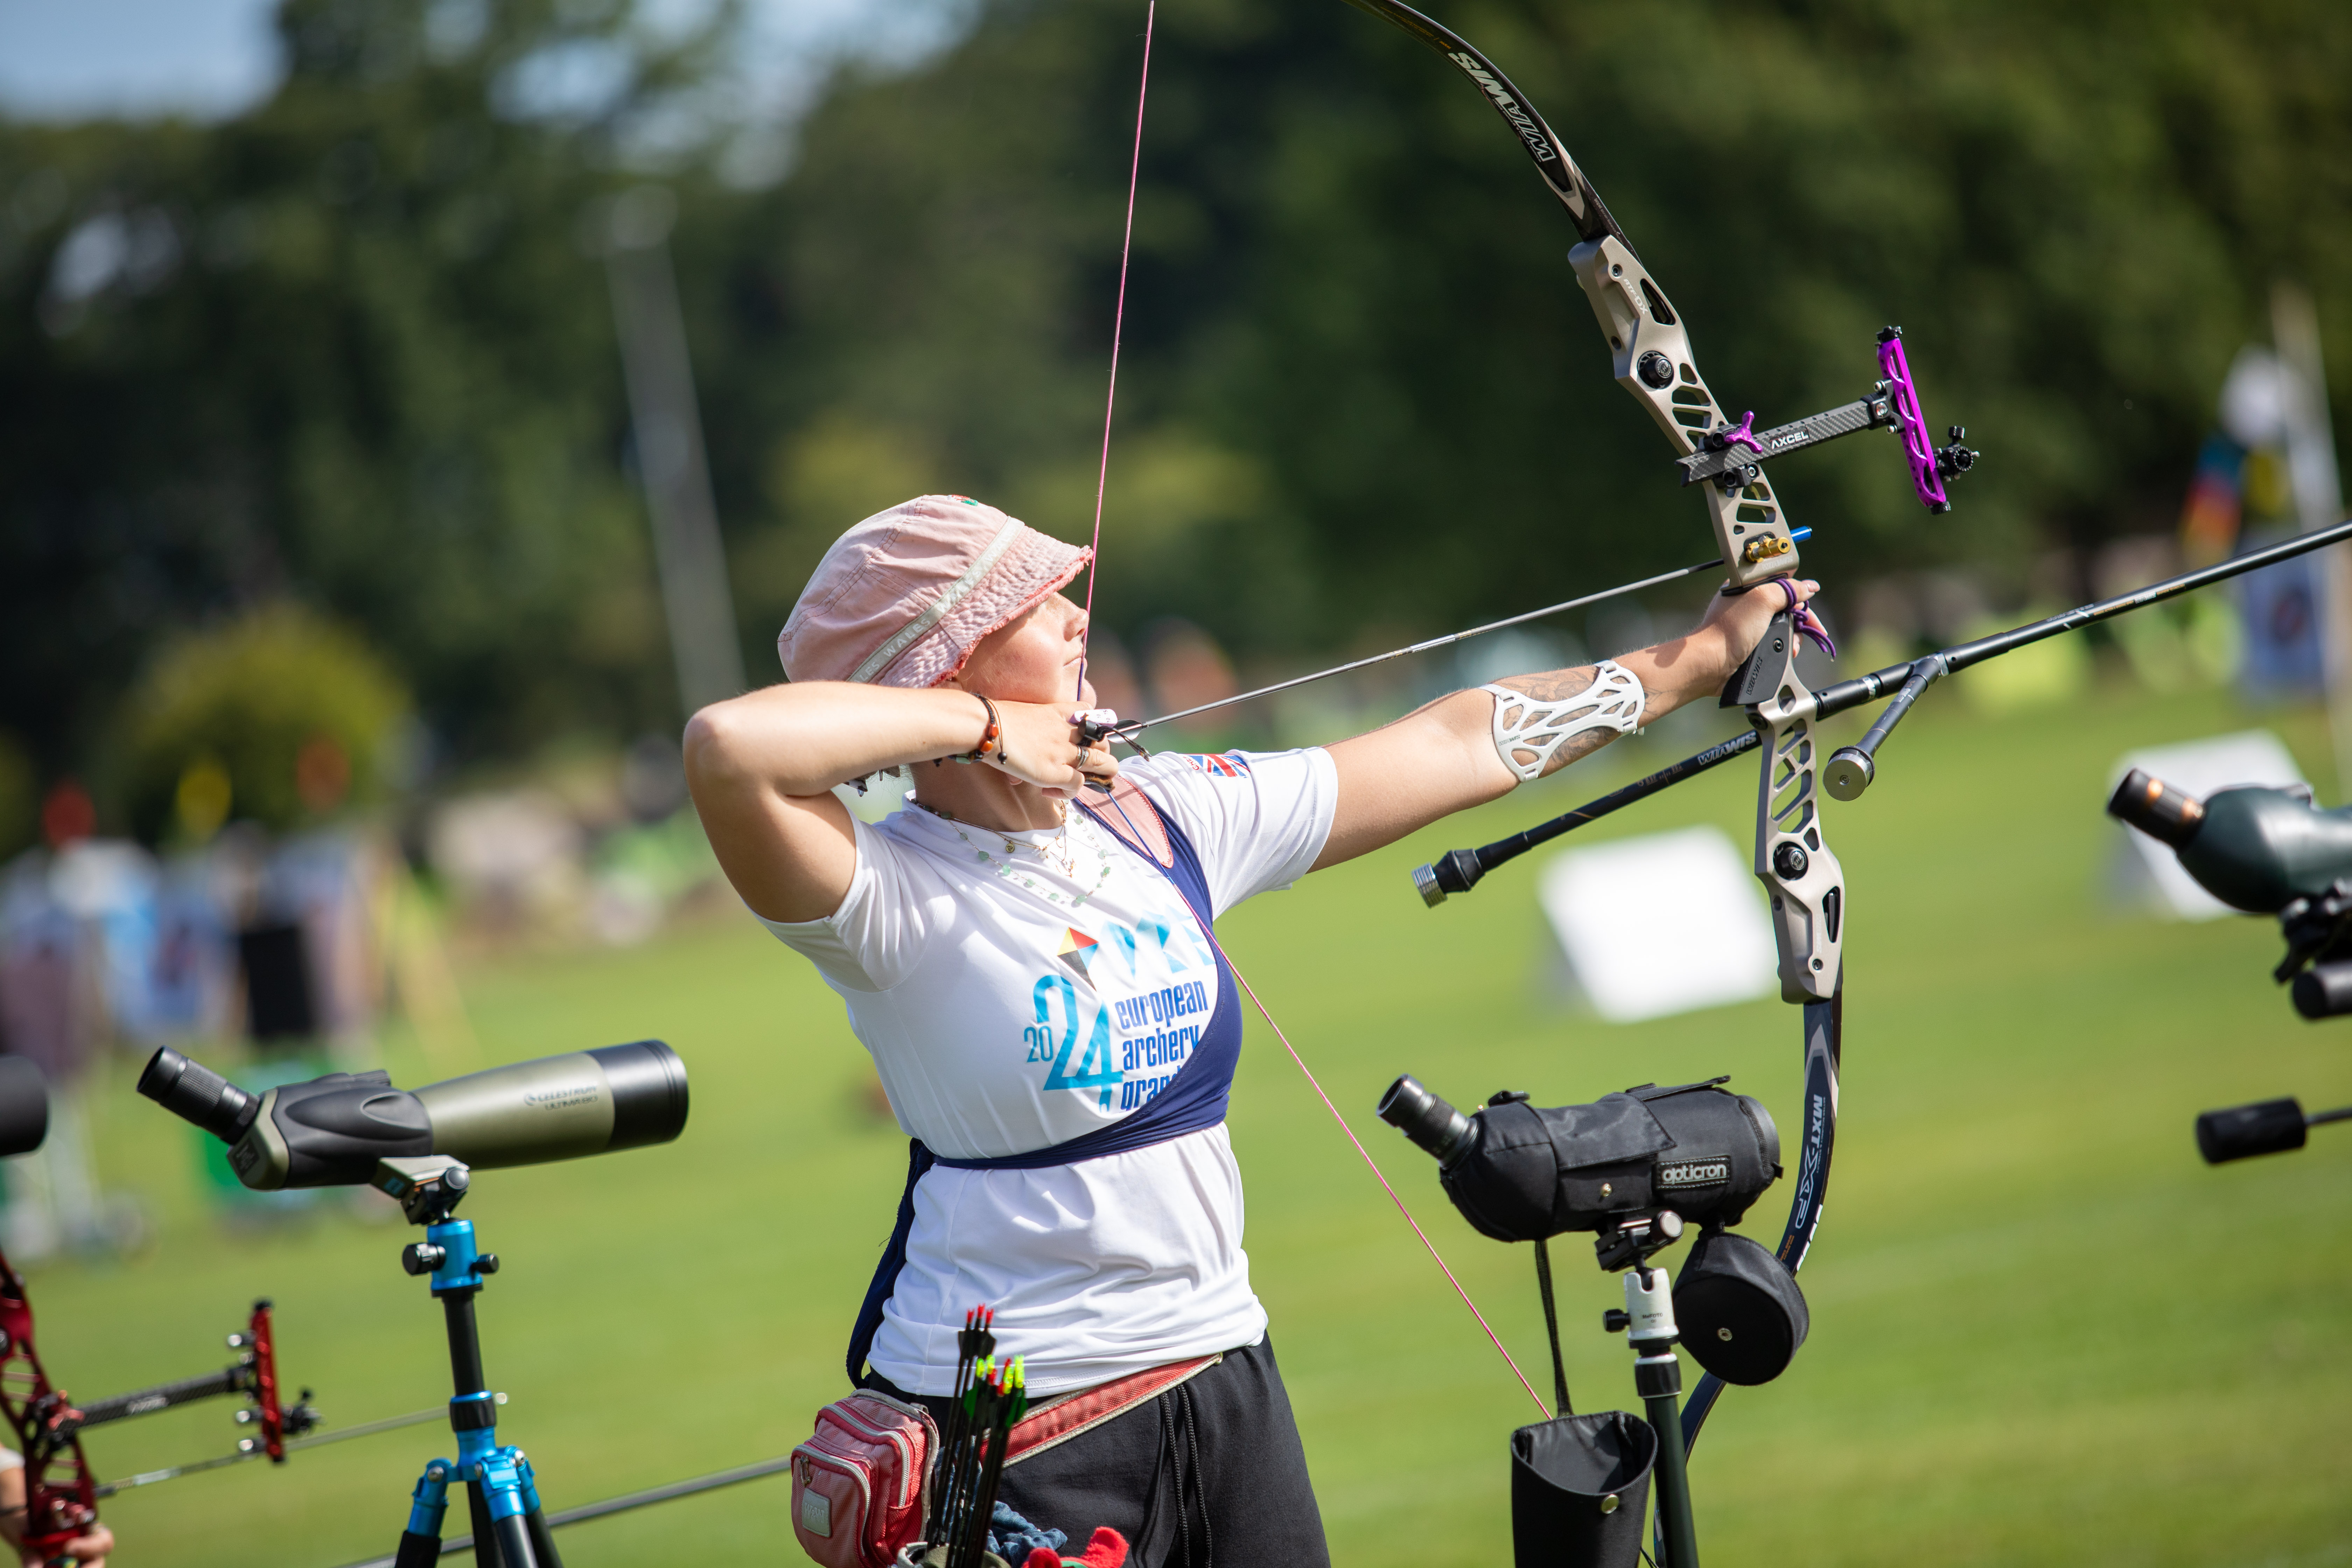
When we have a pressure button and the centre shot is correct, we can now align the sight aperture over the arrow, as per the image below. You might find that you will need to move the sight over slightly and this is perfectly fine.
The clicker is an excellent piece of equipment for improving not only scores but form – in fact the clicker improves scores more than any other piece of equipment. The clicker makes sure your posture and form are the same for every single shot. If you get fatigued and slouch you will find it very hard to get through the clicker, showing you just how important it is. It is crucial that the clicker is set up correctly with an expert, otherwise it can cause problems.

Thanks to Adam at Wales Archery.